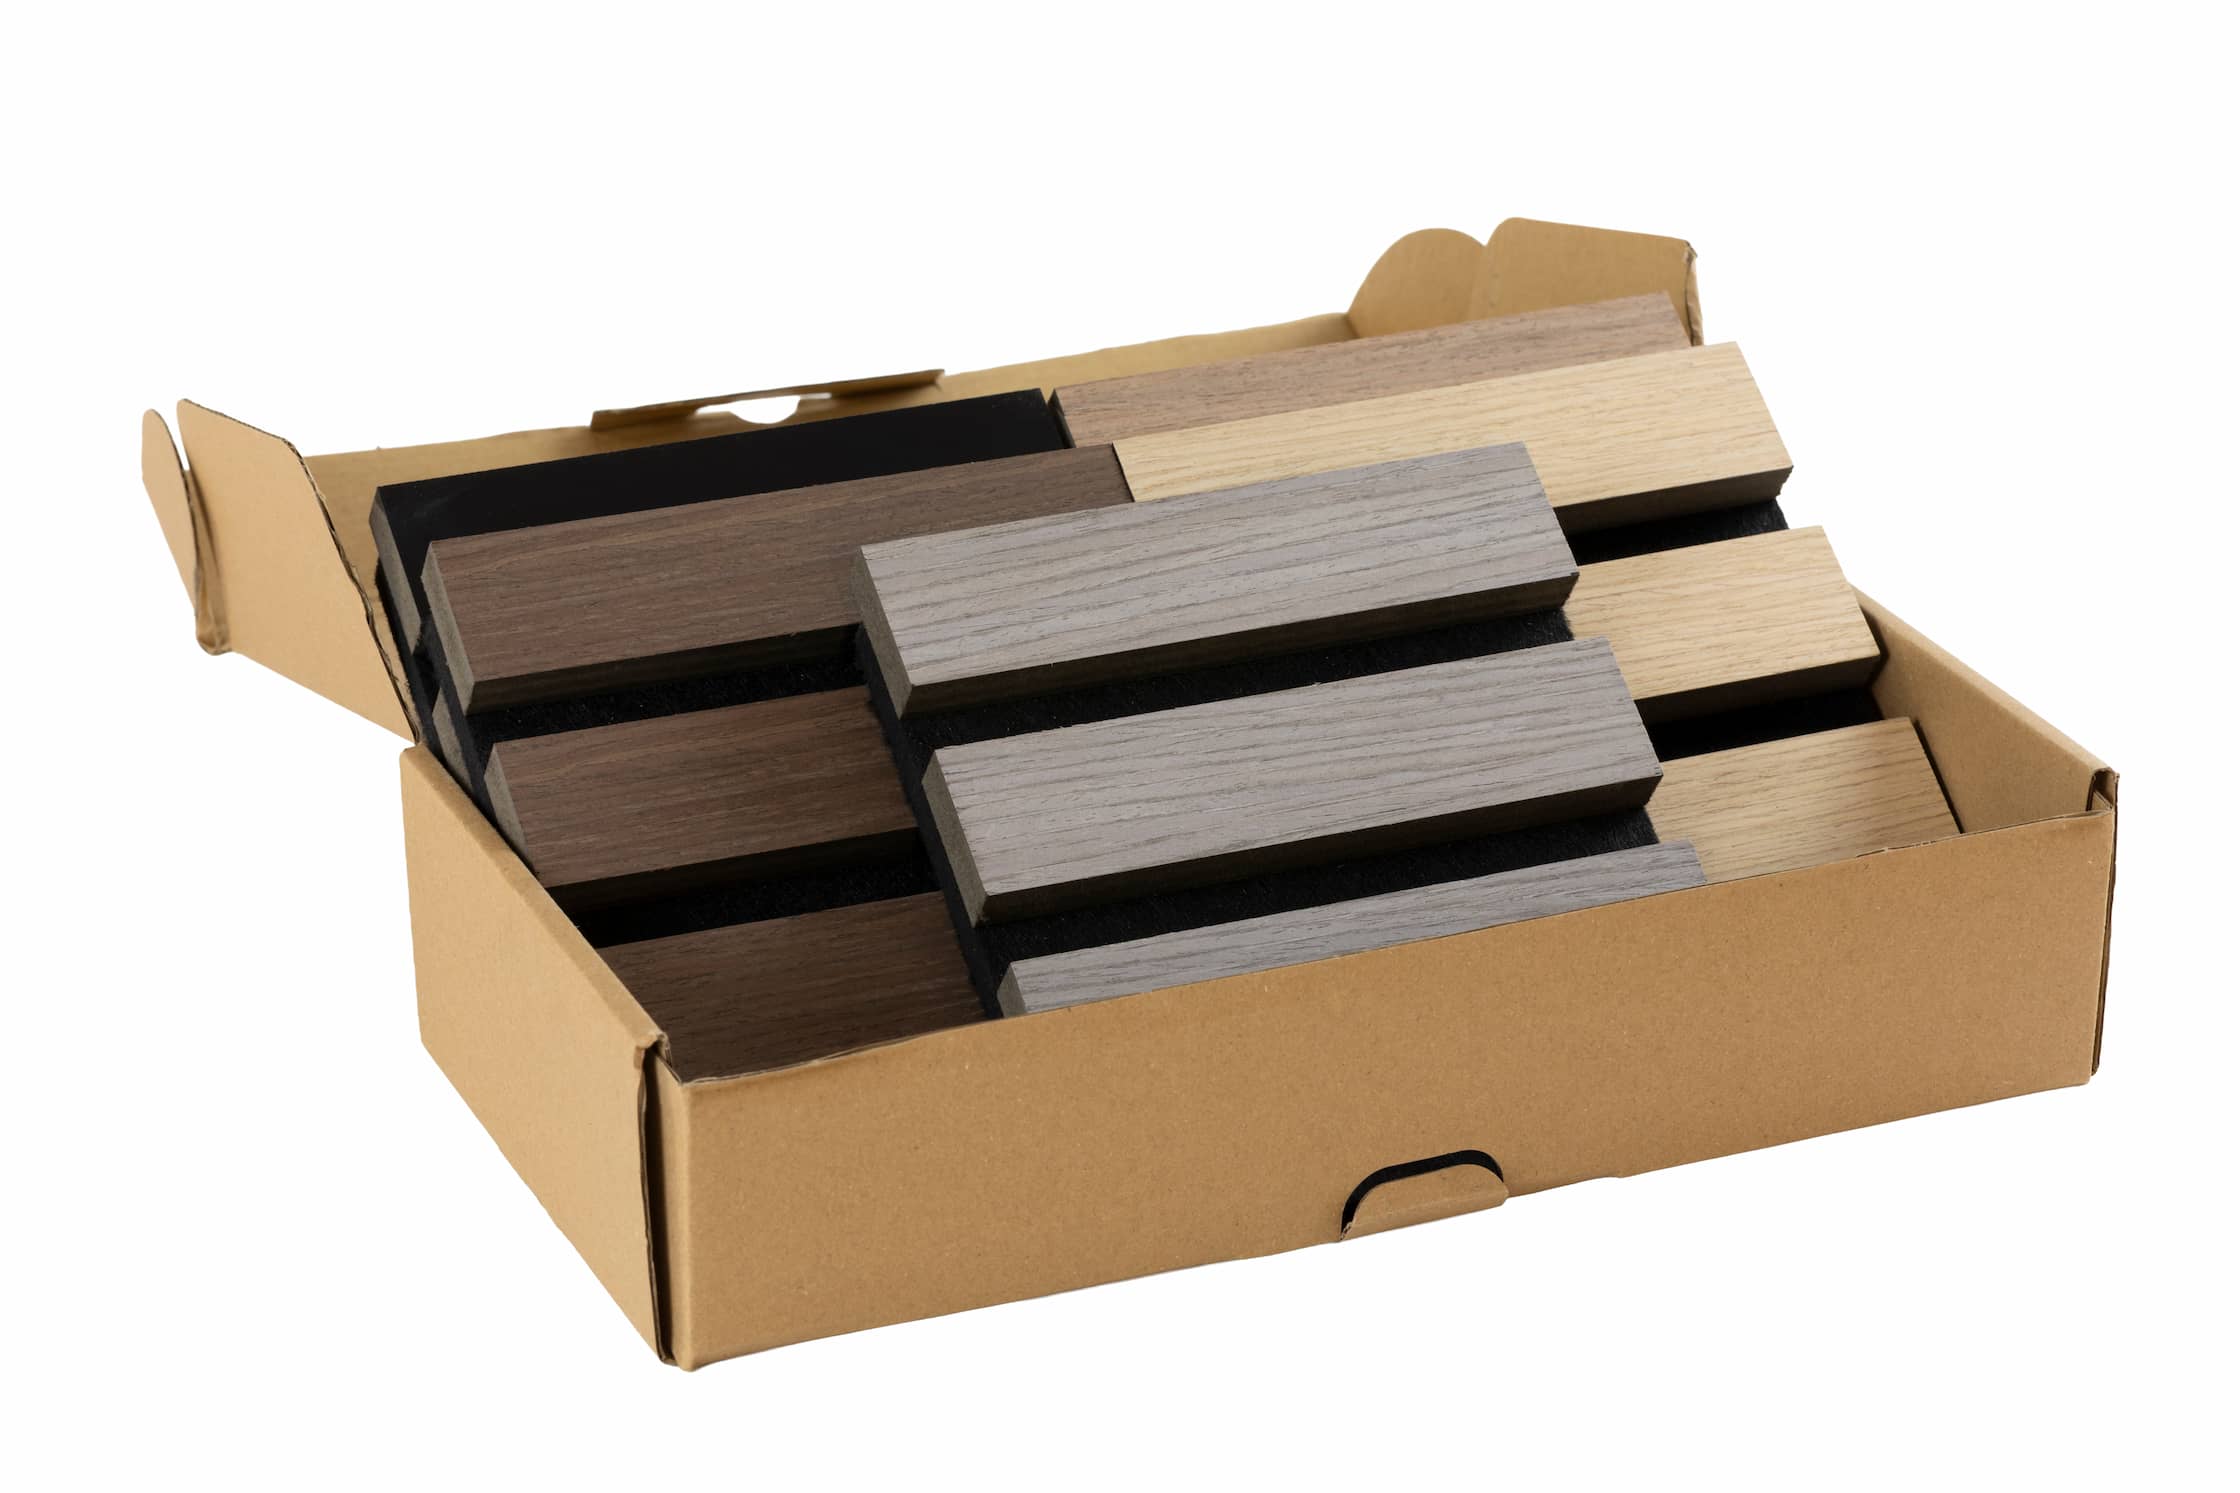


Step 1: Measure and Cut
Measure the height of your wall and cut the panels to fit using a circular saw for precision. If you don’t have a circular saw, a fine-tooth handsaw will work for both the wood and felt backing.
Step 2: Prepare the Surface
Ensure the wall or ceiling is clean, dry, and free from debris. Sand any rough areas and wipe the surface down with an appropriate cleaner to remove dust and grease.
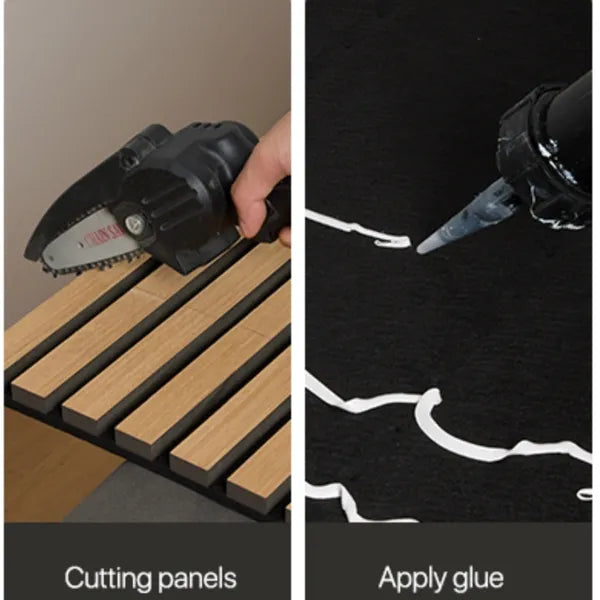
Step 3: Apply Adhesive
Spread a high-quality adhesive evenly across the back of the panel. Covering the entire surface will ensure a firm bond. Carefully position the panel on the wall and press firmly into place.
Step 4: Finishing Touches
For the final panel, trim off any excess felt with a sharp knife, leaving a clean wooden edge for a seamless finish.

Extra Tip:
Double-check alignment before applying adhesive. Once the panel is fixed, repositioning can be difficult due to the strong bonding strength.
Reinforce with black screws. We recommend drywall screws with a diameter of at least 4.8 mm and a length of 32 mm. Wooden batons can be used for extra reinforcement where required.